
This article, “How to Attach Monstera to a Moss Pole,” will cover a step-by-step guide, followed by how to train your Monstera to climb a moss pole. Read on to discover:
- An overview of attaching Monstera to a moss pole.
- A step-by-step guide on how to attach it carefully.
- How to make a Monstera moss pole using DIY methods.
- Expert tips on how to perform Monstera plant care.
- Frequently asked questions about Monstera moss pole.
And more! Let’s get into it!
What Exactly is a Moss Pole?
The meaning of a moss pole may be taken from the name itself; however, you may have discovered some that do not seem to be wrapped around a pole in the traditional sense.
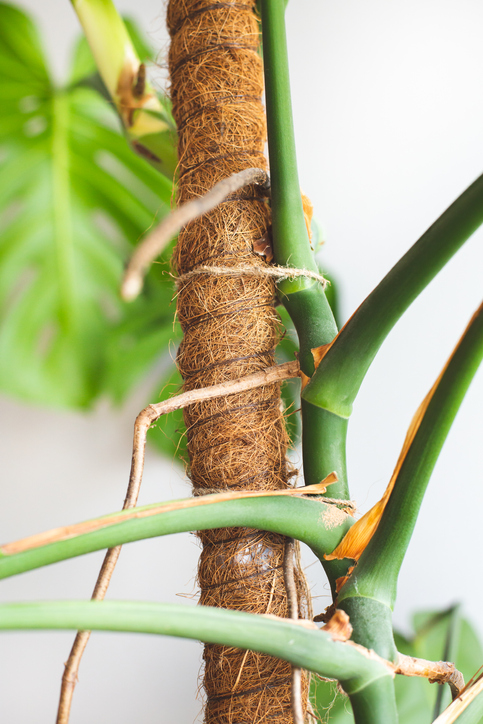
In simple words, moss poles are a type of support poles constructed by wrapping long strands of sphagnum moss around a bamboo cane or a PVC pipe if that’s what you’ve got lying around.
On the other hand, coco coir poles have a far more attractive appearance but do not provide the same level of utility.
While a Monstera Deliciosa is clinging to its support, the presence of moisture and the fact that the moss is easy to penetrate both encourage the growth of aerial roots on the plant.
Monstera Moss Pole — An Overview
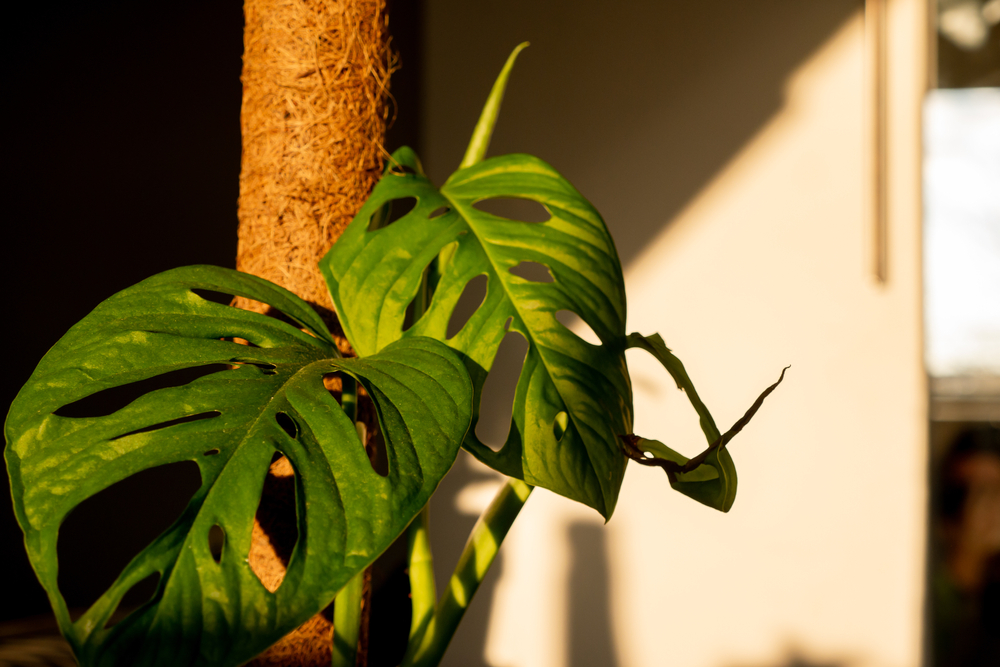
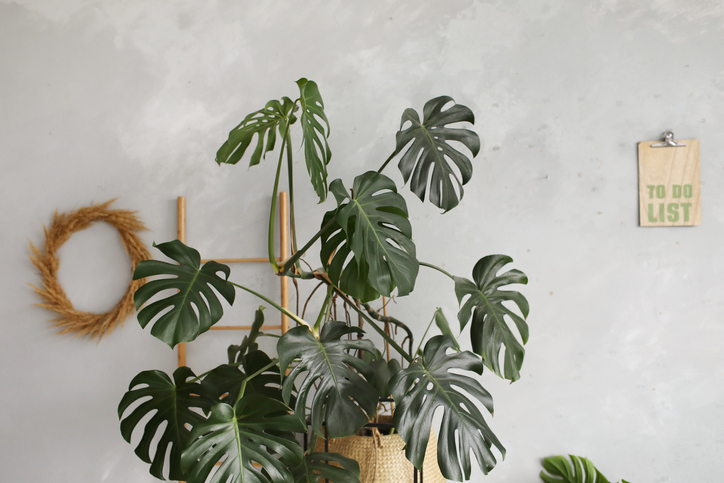
The Monstera Deliciosa, also known as the Swiss Cheese Plant, is a fairly rapid grower, which is why, sooner or later, you’ll want to know how to train this climbing plant on a moss pole.
The heart-shaped leaves of Monstera Deliciosa are already gigantic, and given that the plant will grow a new leaf every 4-6 weeks, it may need something to hold on to grow upright.
In a natural habitat, tropical plants like Monstera Deliciosa use trunks of trees to support their vertical growth while clinging to them via long cord-like aerial roots sticking (exposed to air).
In other words, this vining plant grows on the forest floor or under the canopy of the higher trees and eventually makes its way up to the light that penetrates the canopy.
When growing Monstera Deliciosa in a living space without tree trunks, you can use a moss pole (or DIY moss pole) to provide your Monstera with an artificial support structure.

Step-by-Step Guide to Attaching Monstera to Moss Pole
Is your Monstera plant growing in every way despite your best efforts to prevent it? It is likely time to provide your plant with vertical support and transform it into a “Moss Pole Monstera.”
The best time to attach a moss pole to a Monstera is when it is being repotted, even though some moss poles have a sharp base that enables them to be pushed down into the root ball.
Therefore, it is advised that you attach Monstera to a moss pole or some other kind of support to enable it to achieve its full maturity and develop leaves with striking splits and holes.
List of Required Supplies
- Monstera Deliciosa Plant
- Moss Pole (Support Pole)
- Terracotta Planter Pot
- Rocks or Pea Gravel
- Well-Draining Potting Mix
- Sprout Screen (Optional)
- Plant Pins, Tape, and Twine
Before We Begin… What is the Best Moss Pole for Monstera?
Although all plant parents have diverse opinions about which moss pole is the best for Monstera, they all agree on one thing: the best moss pole is the one filled (or covered) with sphagnum moss that provides a rough surface for the normal roots/aerial roots to adhere to. Alternatively, you may use a coco fiber or coco coir pole, similar to a sphagnum moss pole.
Attaching Monstera to a Moss Pole
- First things first, remove the root ball from the planter pot it was previously in.
- Make sure you choose a container that has a hole at the bottom for drainage (or holes).
- Consider placing a piece of landscaping fabric or sprout screen at the pot’s bottom.
- Insert the moss pole into the empty Monstera planter, so its bottom end is flushed.
- Place rocks in the bottom of the container to completely encircle the moss pole.
- Put some potting soil around the bottom of the moss pole, then pat it down evenly.
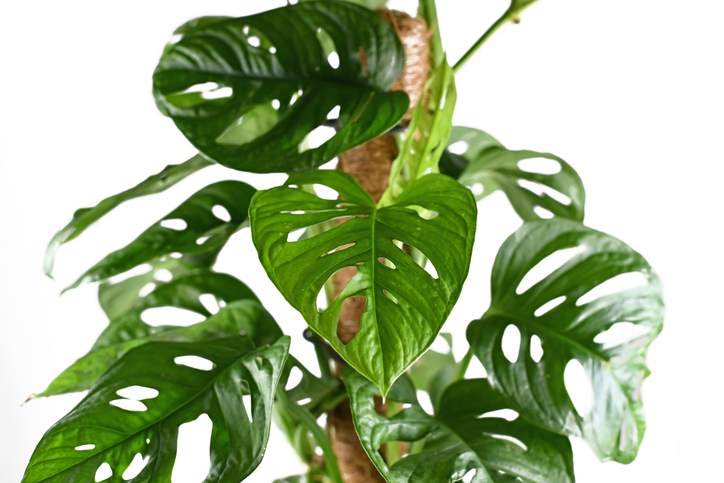
- Take your time and work carefully to wind the Monstera vines around the moss pole.
- Connect each vine at several spots using pins, twine, or plant tape resembling velcro.
- Soak the plant thoroughly (including the narrow moss pole) and drain any surplus water.
Moss Pole Monstera Plant Care Recommendations
It is generally true that moss pole plants are more straightforward to care for in the long term than sprawling Monstera, only if you do a small amount of routine maintenance consistently.
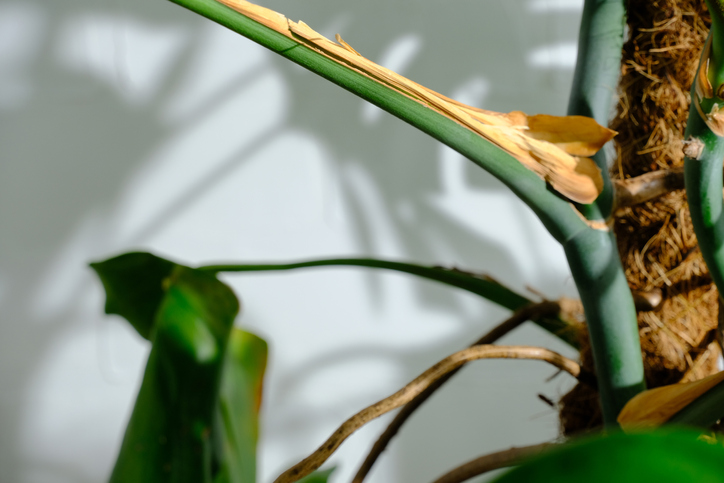
To begin the plant care, continue attaching the Monstera vines to the moss poles to allow them to grow taller in the vertical direction. Utilizing soft plant ties will allow you to gently adhere the vines to the pole without causing any damage to the vines themselves.
Additionally, you may set the aerial roots of your house plants against the pole and tie them with a soft plant tie while rooting in. Aerial roots are normally quite competent at identifying areas of the pole to root into, but you can also use this method to promote new growth.
Finally, it is best to keep the moss pole moist with an automated plant mister, but you may also do it with a conventional spray bottle in the sink or the shower with running water.
How to Make a Moss Pole — DIY
Step 1: Soak the sphagnum moss in water until thoroughly wet (Don’t just pour water over it).
Step 2: Put the bamboo stick or the PVC pipe inside the Monstera plant pot to mark the spot.
Step 3: Extend the sphagnum moss across the pole from above the designated location.
Step 4: Be careful to apply sphagnum moss covering with sufficiently thick stems.
Step 5: Once the moss has covered the whole diameter, wrap it with a cotton string or zip ties.
Where to Buy a Moss Pole for Monstera?
Moss poles may be found in various retail establishments, including garden centers, houseplant specialist shops, and even big-box retailers with gardening sections.
Although some of the bigger alternatives may become slightly pricey, they are not generally prohibitively costly. You may get it from Etsy or Amazon if you want one delivered.
Finally, you may get ready-made moss poles at various garden shops (or online: either short or tall), but it is more cost-effective and simpler to create your own moss pole at home.
When to Attach Monstera to Moss Pole
When you first get your Monstera plant home from the nursery, you should immediately repot it and attach a moss pole to support the container. This way, your Monstera with moss will get off to a healthy start and have the support it needs to grow vertically in less space. Additionally, you may add a moss pole if the Monstera seems to droop or needs more support.
What Size Moss Pole for Monstera Should You Use?
There is a range of available lengths when it comes to using a moss pole. Thus, choosing one that is sufficiently tall to hold the green leaves of your climbing plants in less space is your best bet.
The optimal length for your plant’s stem accounts for the height of the potting material as well as the height of the thickest stem above the container while providing space to expand.
To conclude, use a moss pole that is 1-2 feet taller than the climbing plants you want to use it for—bearing in mind that at least 6-12 inches of the moss pole will be buried under the soil moisture to maintain the first pole position in the pot to depict tropical appearance.
Frequently Asked Questions
Whether you’re planning to attach a moss pole to support your Monstera’s growth or just feeding your brain with general information on the entire process, we hope this article helped.
As a bonus, we’ve taken time to answer some frequently asked questions regarding moss pole Monstera and attaching Monstera plants to a moss pole.
Does Monstera Adansonii Need a Moss Pole?
The answer is yes; however, since the stems on M. Adansonii are significantly thinner than those on other plants like Split Leaf Philodendron, you can choose a less robust alternative.
Are There Any Horizontally Growing Stems of Monstera Deliciosa?
When young, Monstera grows in a vertical direction on only a few stems in a natural environment. The plant outgrows during maturity and takes up space to grow horizontally.
Why Use a Moss Pole for Monstera Plants?
Moss poles are excellent for training Monstera plants to grow vertically rather than horizontally. They provide structural support for the upward growth of epiphytic plants.
Why Should You Attach Monstera Stem to a Moss Pole?
Since the potted Monstera stems may also grow horizontally, it is essential to attach these stems to tie to a moss pole, leaving the slender leaf stalks surrounding the pot’s bottom.
Can You Use Rot-Resistant Wood Stakes Instead of Moss Pole?
Yes, rot-resistant wooden stakes or poles are an equally effective option. Choose wooden stakes if you need something that is durable, all-natural, and requires no maintenance.
How Do Monstera Roots Absorb Water and Grow Tall?
Monsteras often produce aerial roots all the way to the ground below them. These roots assist the plant in remaining stable as they absorb water and nutrients from the surrounding soil.
What Are Some Other Climbing Plants That Need Moss Poles?
Besides Monstera Deliciosa and Adansonii, common climbing plants include Heartleaf Philodendrons, Pothos, Satin Pothos, Arrowhead, Brasil Philodendron, and more.
How Long Does it Take for a Monstera Plant to Attach to a Moss Pole?
If you have been diligent about keeping the moss pole moist throughout the growing season, it should not take more than six weeks for the roots to attach themselves to the pole.

My name is Daniel Elrod, and I have been houseplant love ever since I was 17. I love how much joy they bring to any room in the home. I’ve always been amazed at how a few pots of flowing leaves can turn a drab and sterile office into an inviting place where people love to work at.


